Seat Construction #1
October 13th, 2010
It was relatively trivial to transfer that curvy line onto some scrap 2×8 to make a pattern. Getting the ¼” ply to conform nicely was a little more challenging, but eventually the 3 layers were glued and clamped and left to settle for a few days. While that was happening I drew a template for the seat outline, including a pattern of holes to improve ventilation and reduce weight. That outline looks like this:
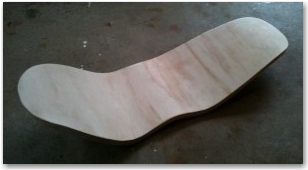
The ply did spring back a little when the clamps came off, but not enough to be a problem. After cutting I ended up with this:
It’s pretty comfortable. Next step – fill it full of holes.

